How To Create A WordPress Child Theme
The best way to modify your theme.
If you own or manage a WordPress website, then knowing how to create a child theme is absolutely crucial. Using a child theme will help speed up your development time, allow you to fix mistakes, and is a great way to learn about theme development. So we’ve created this basic guide on how to create a child theme in WordPress to help you get started.

So what is a child theme exactly? When you host a website through WordPress, the website will use a theme. The theme is simply a collection of files that work together to produce the design of your website. WordPress themes allow us to modify the way the site is displayed without modifying the actual underlying software. Child themes take it even one step further by allowing you to make modifications to the theme, without actually changing the original theme at all. Child themes are the standard and recommended way of modifying your existing theme.
The child theme consists of a directory and two files. These files are style.css and functions.php. To start creating the child theme, first create the directory which needs to be placed in wp-content/themes. WordPress recommends that the name of your child theme directory has “-child” at the end, although it is not required. What is required is that the name contains no spaces.
Next, create your style.css stylesheet. The stylesheet must contain the following:
/*

 Theme Name:   Twenty Fifteen Child

 Theme URI:    http://example.com/twenty-fifteen-child/

 Description:  Twenty Fifteen Child Theme

 Author:       John Doe

 Author URI:   http://example.com

 Template:     twentyfifteen

 Version:      1.0.0

 License:      GNU General Public License v2 or later

 License URI:  http://www.gnu.org/licenses/gpl-2.0.html

 Tags:         light, dark, two-columns, right-sidebar, responsive-layout, accessibility-ready

 Text Domain:  twenty-fifteen-child

*/
Of course you’ll need to replace the sample text with your own details. The final step you need to do to create your WordPress child theme is to enqueue the parent and child theme stylesheets. To do this you’ll need to add a wp_enqueue_scripts action and use wp_enqueue_style() in the functions.php of your child theme. Here is an sample of what that will look like:
<?php

add_action( 'wp_enqueue_scripts', 'my_theme_enqueue_styles' );

function my_theme_enqueue_styles() {

    wp_enqueue_style( 'parent-style', get_template_directory_uri() . '/style.css' );

}

?>

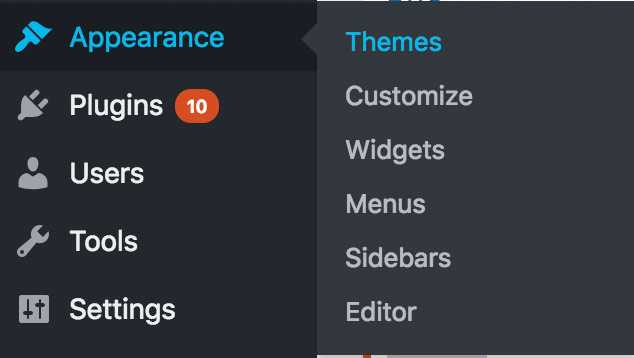
Once again make sure to replace the sample text with your own relevant details. You are now ready to activate your child theme. Log in to to the administration panel of your website and go to Appearance > Themes. Your child theme should now be there ready for activation. You can now enjoy editing your website without worrying about breaking the original theme. There is a lot more that can be done with child themes, but this is just a simple guide. We hope that it has helped made the process of child theme creation a little easier for you.
